
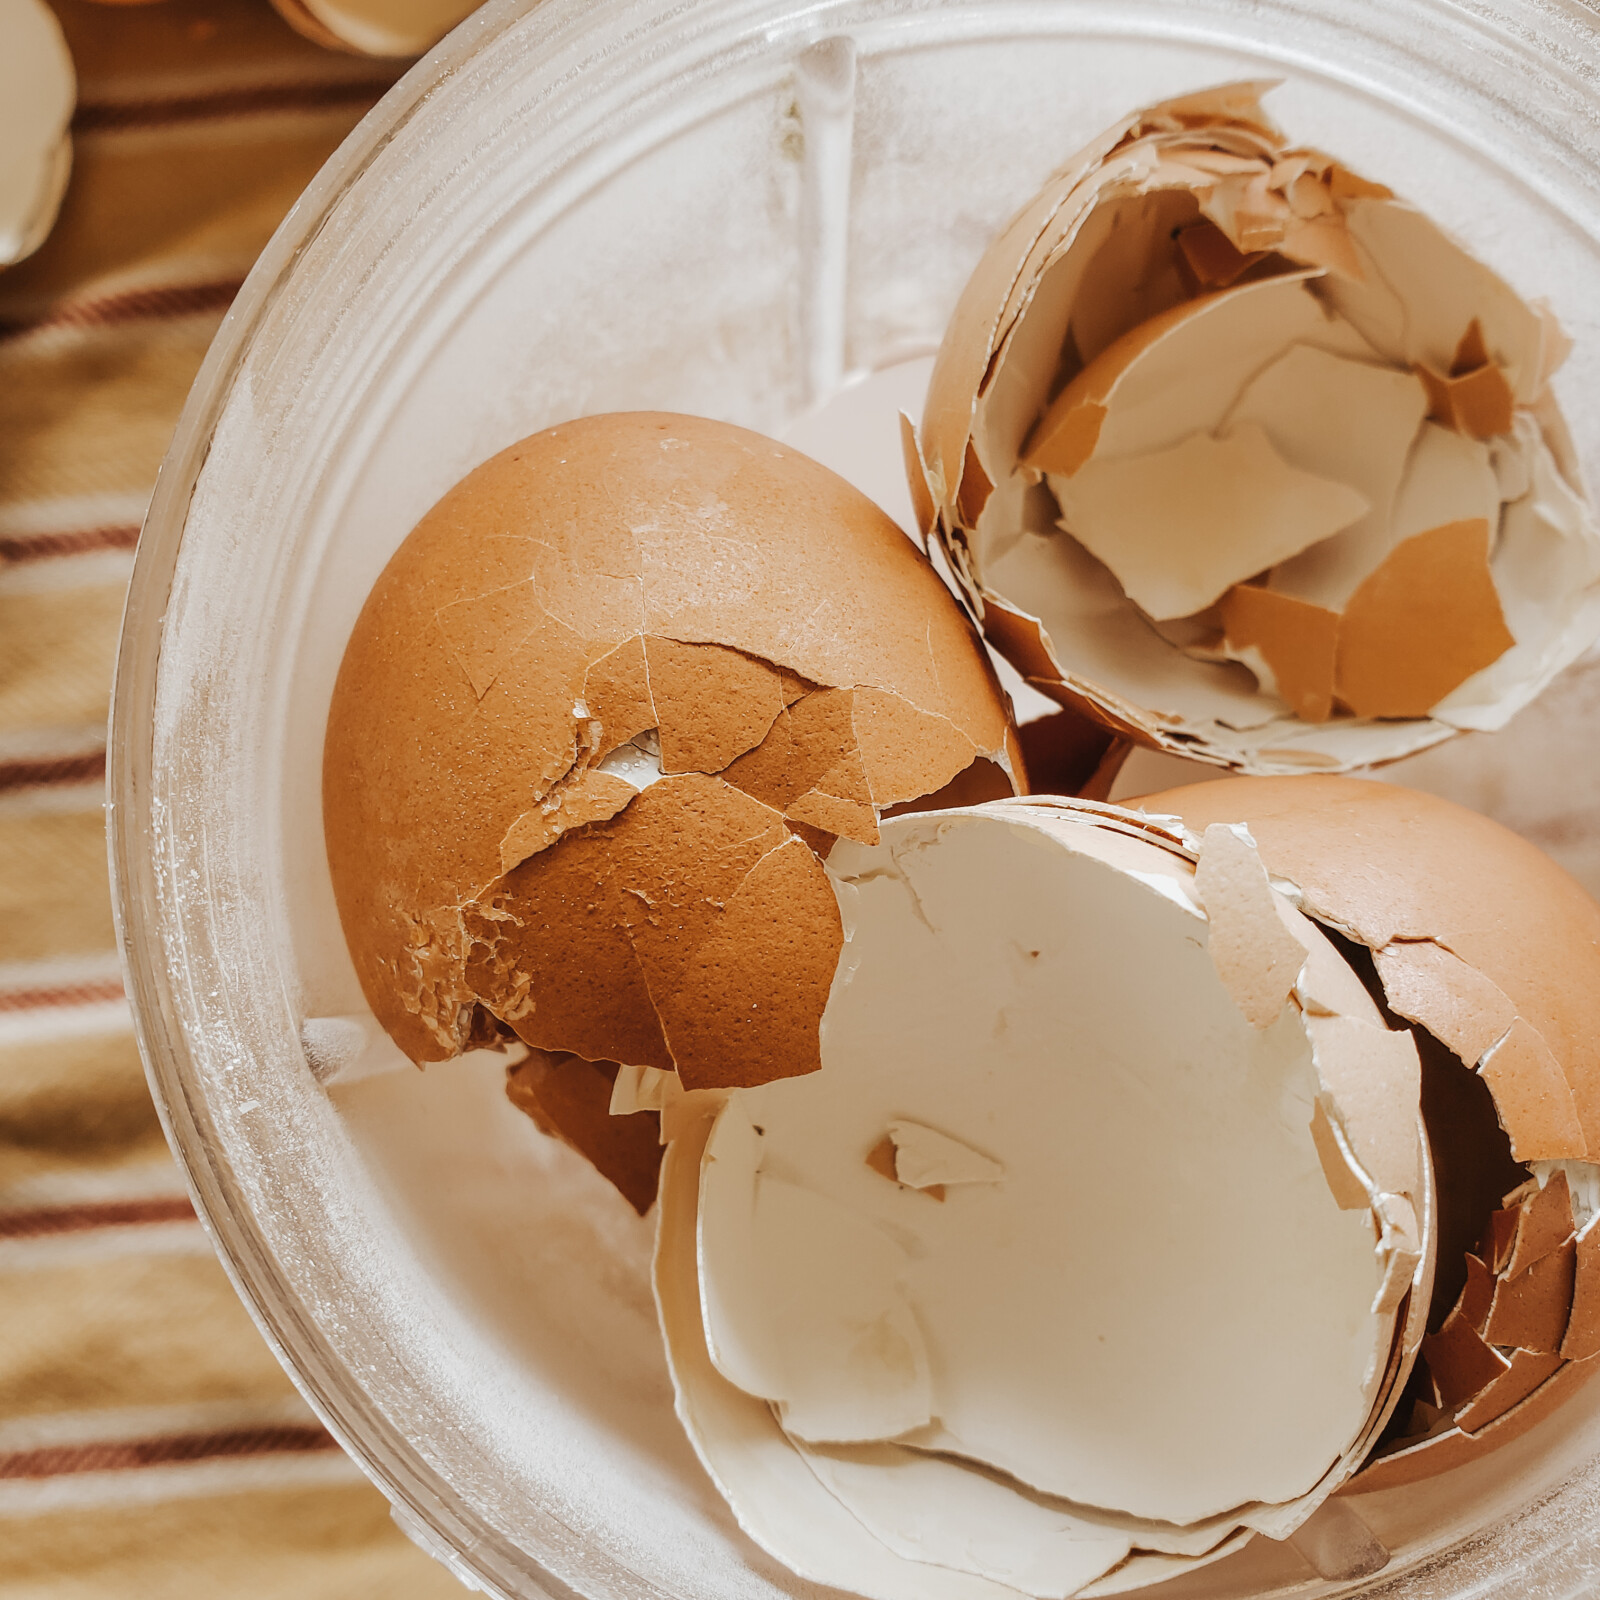
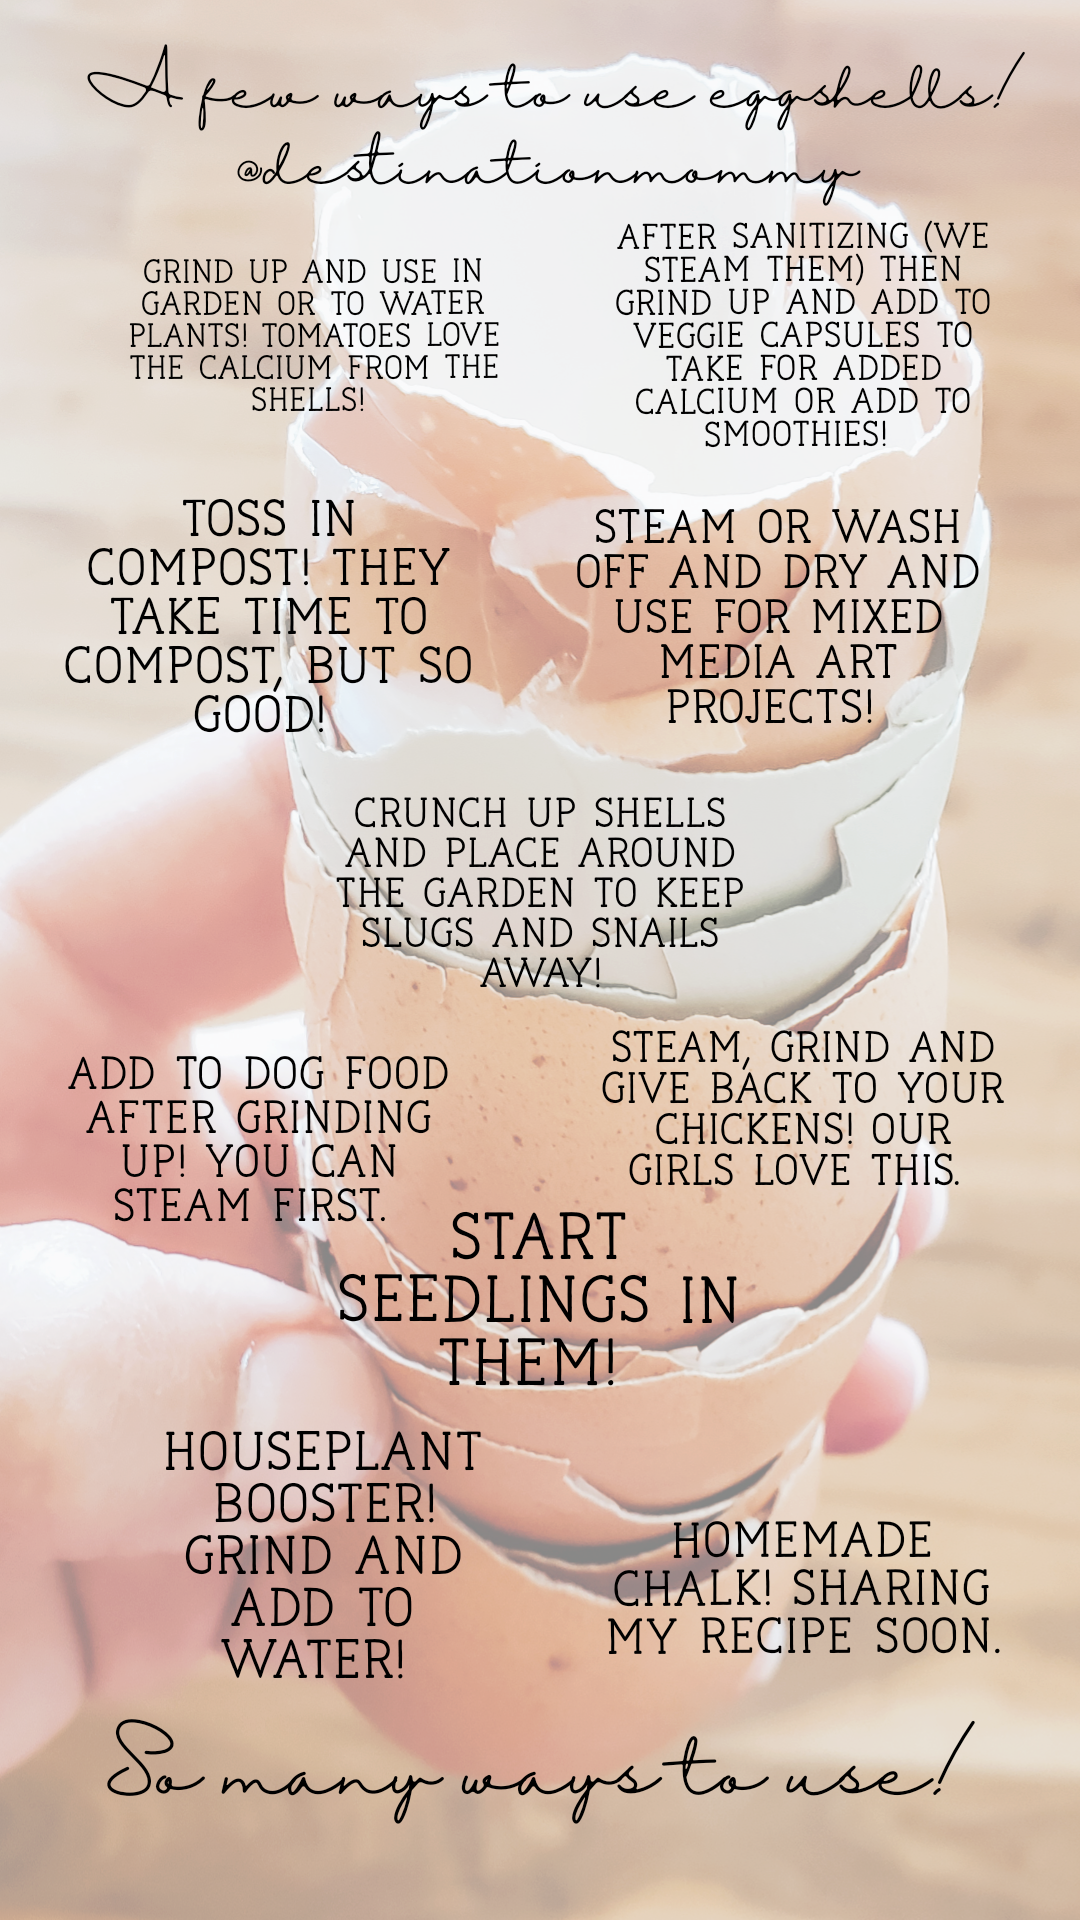
We always have an abundance of eggshells and have found several great ways to use them. Our garden and chickens love the calcium. We also use crushed eggshells for our houseplants. There are endless ways to use the shells (I shared an image below).
I remember reading the ingredients in the chalk I had bought my daughter and a lightbulb went on (calcium carbonate and limestone are common ingredients used in commercial chalk).
After a few experiments and some attempts that ended up being gritty finger paint, I finally came up with the magic combination.
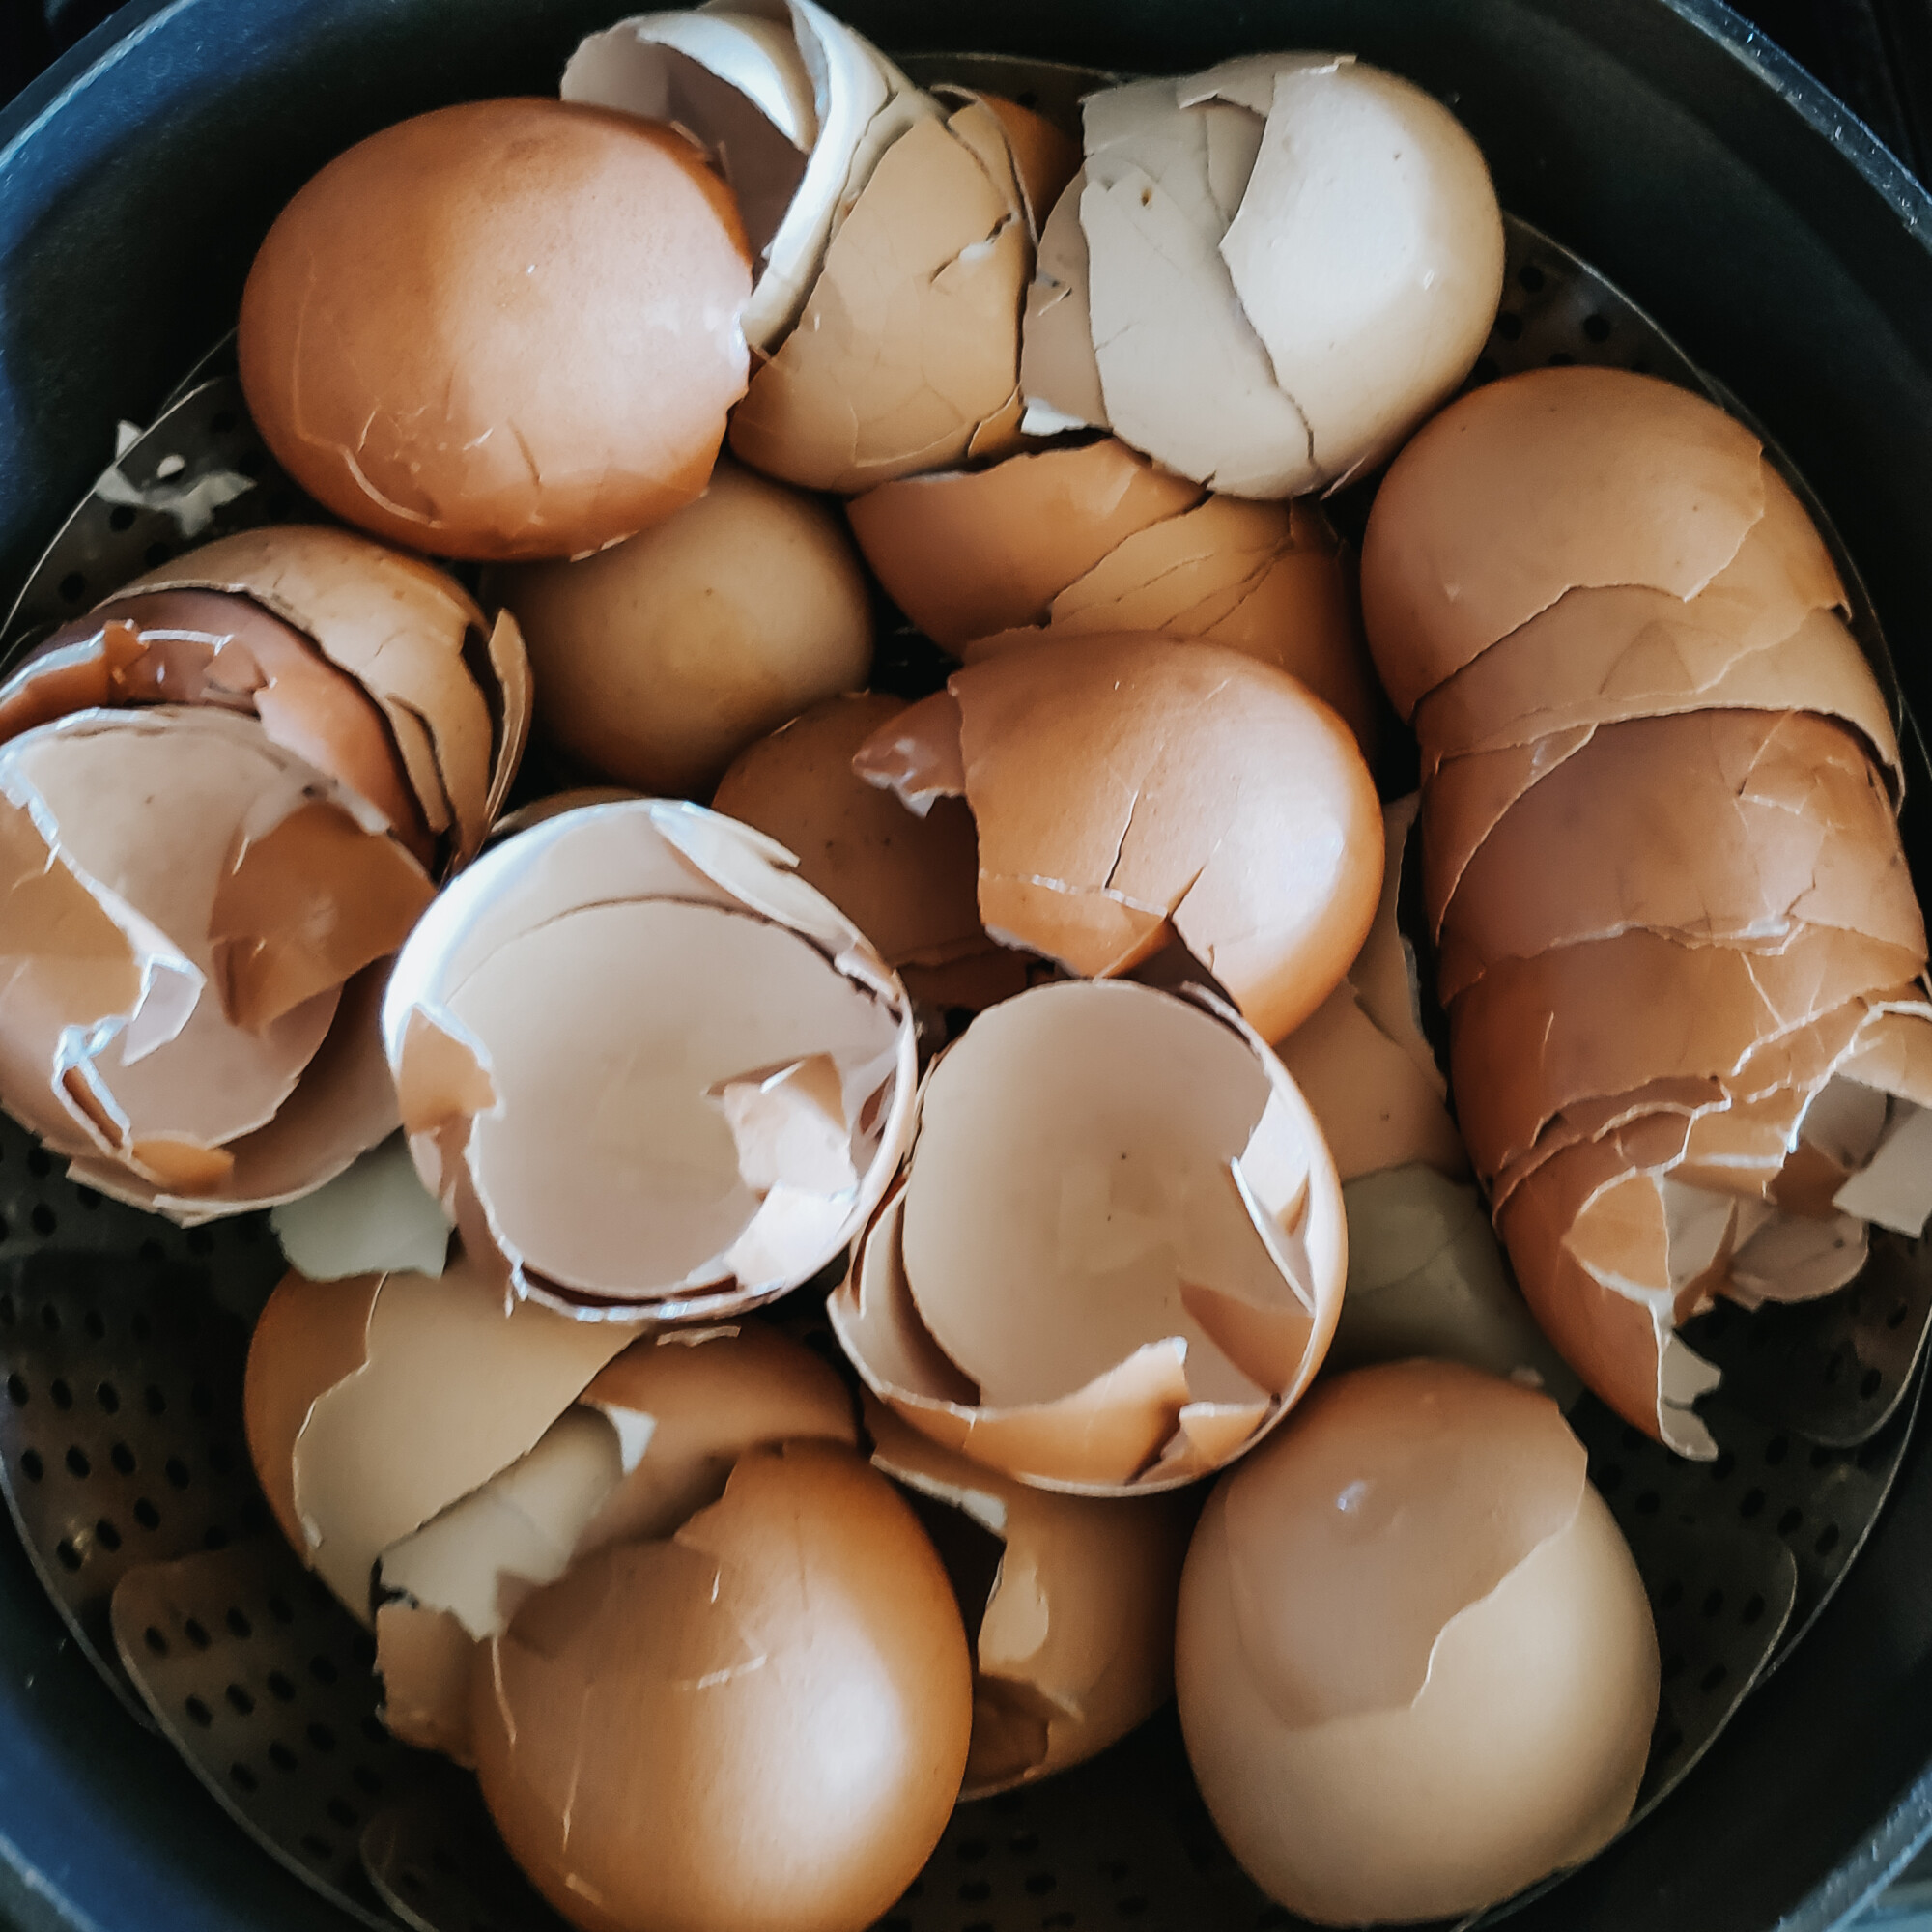
Start by saving your eggshells. I typically process 2 dozen eggshells at a time, but I have processed more and stashed the ground eggshells aside for future use! I usually set my eggshells in the sun to dry out and to prevent any smells. Plus, I don't like spending time washing them all out…
After you have enough shells (any amount will do) place them in a pot to steam them. I steam my shells for about 20 minutes. You can skip this step and I often do, but this is for those worried about bacteria. After they have steamed, set them out to dry. The sunshine will do or you can dry on a baking sheet in a very low oven.


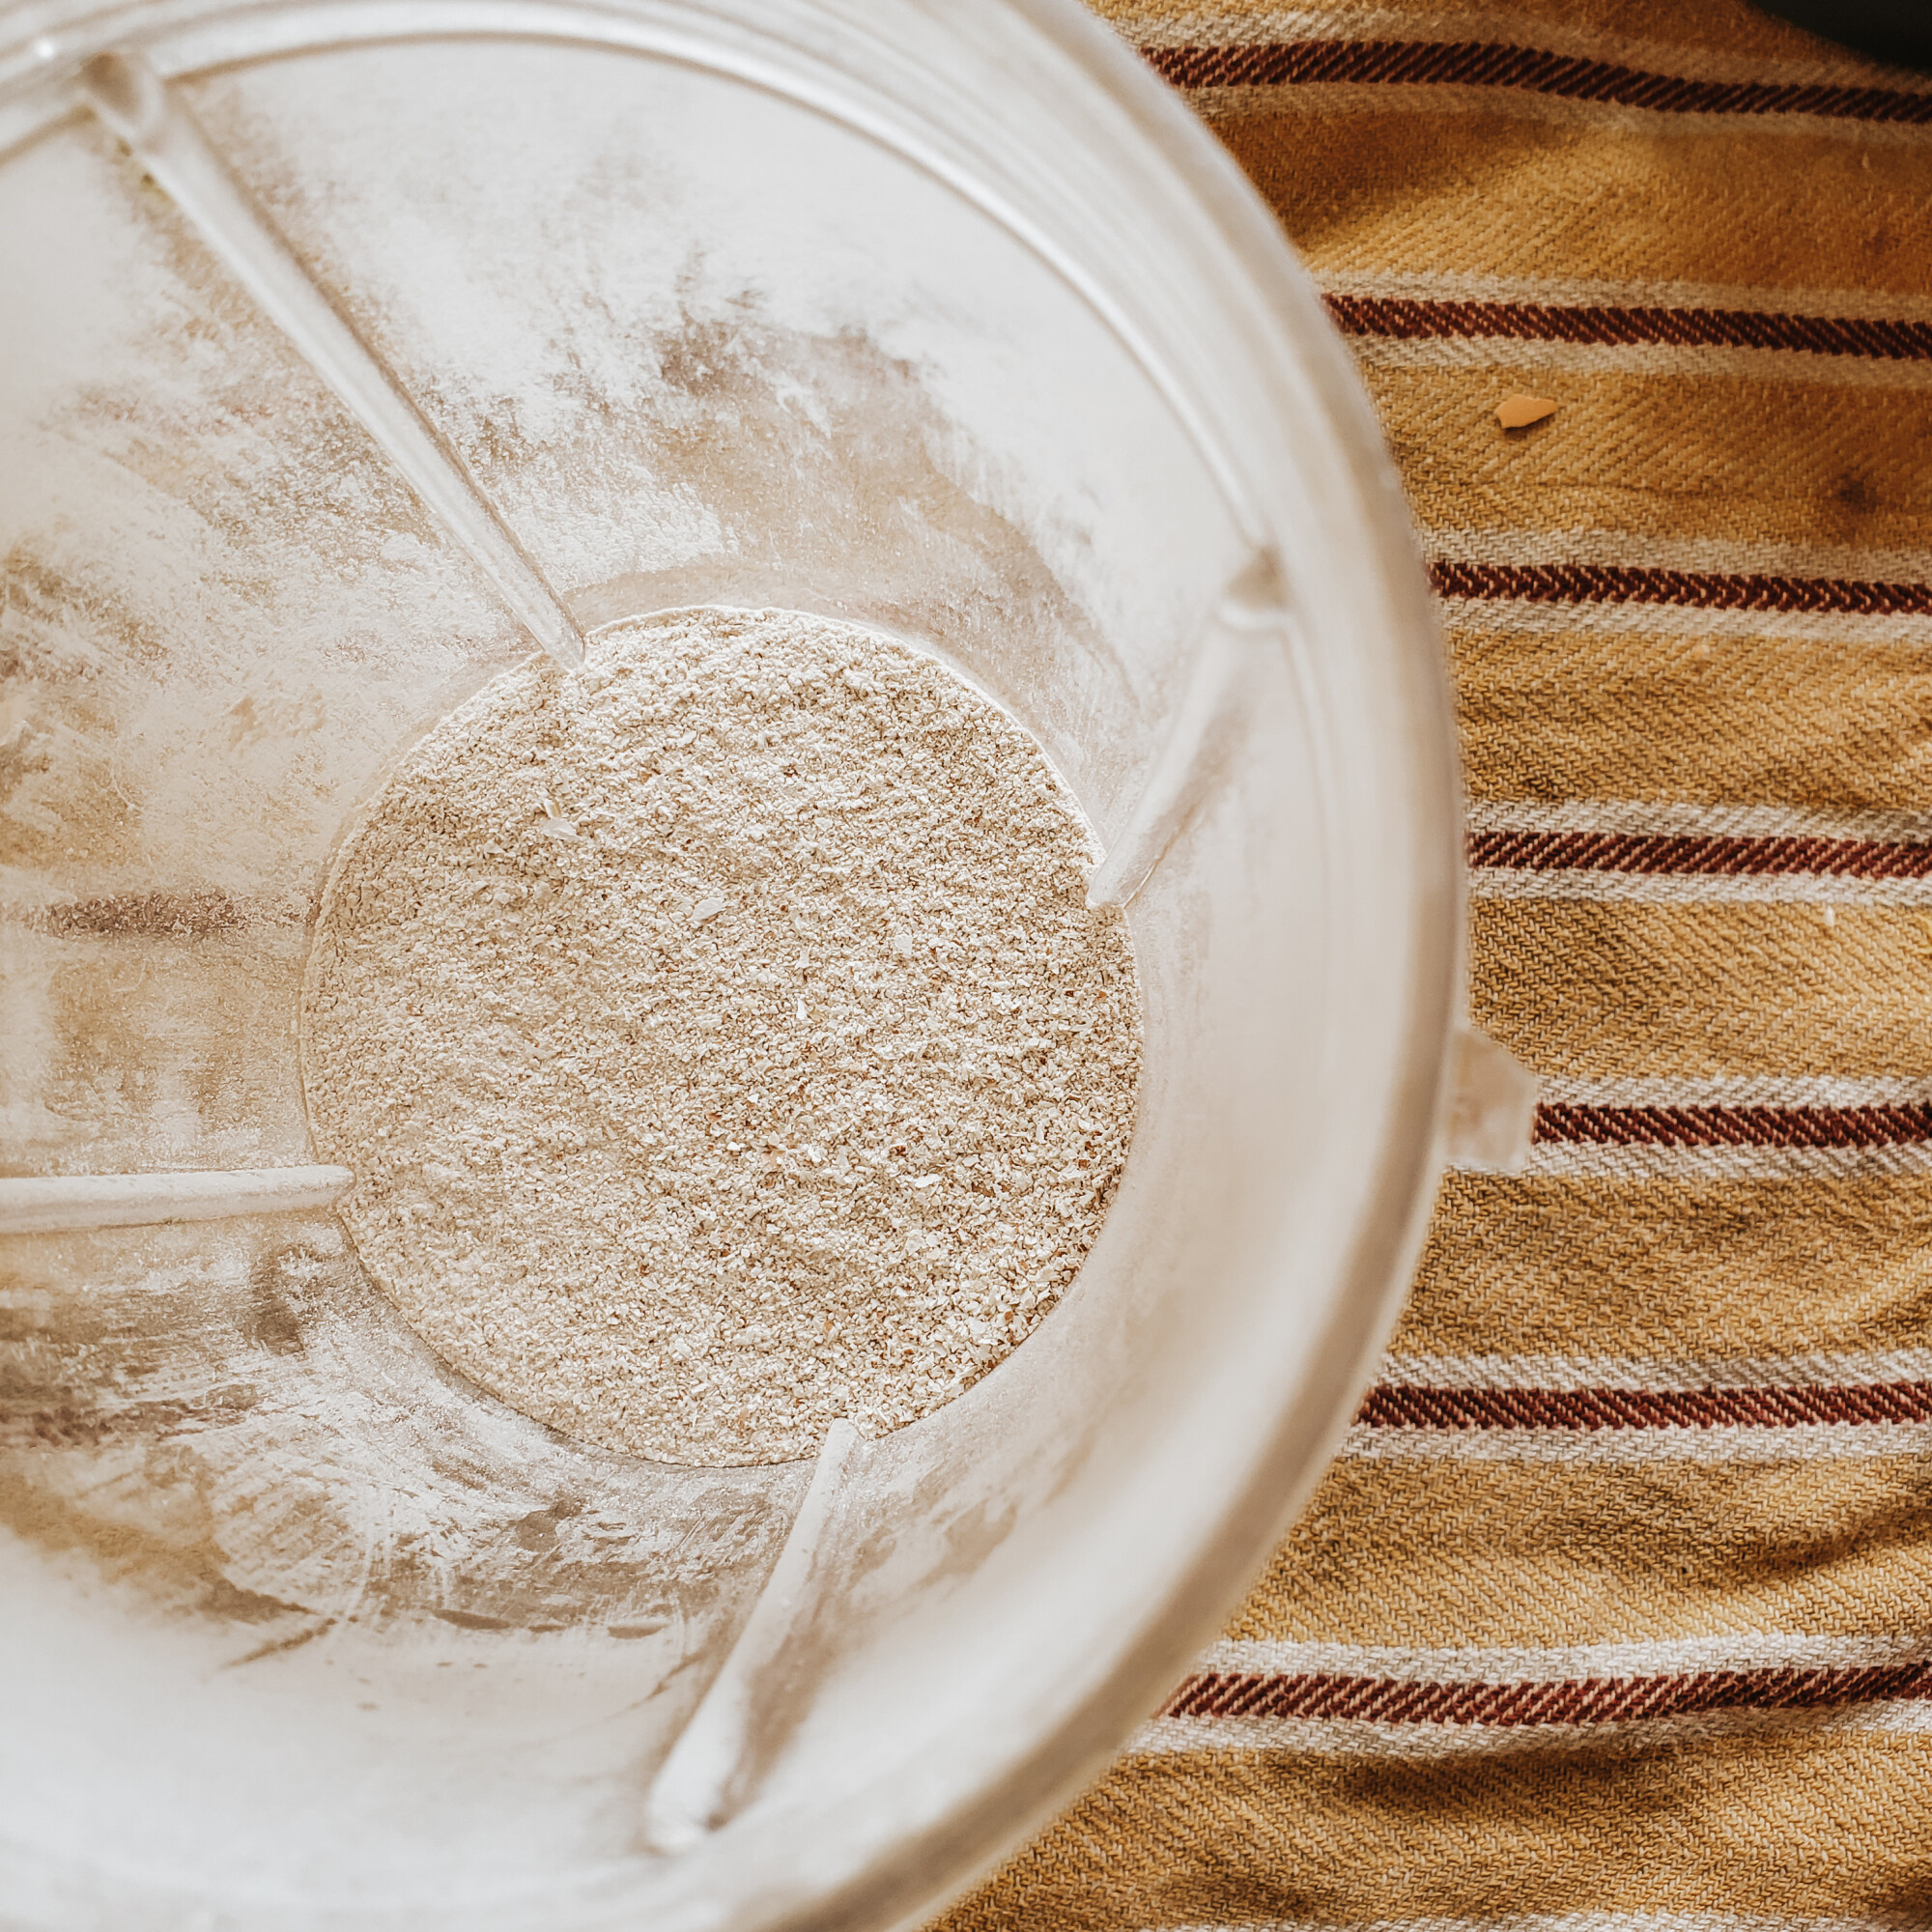
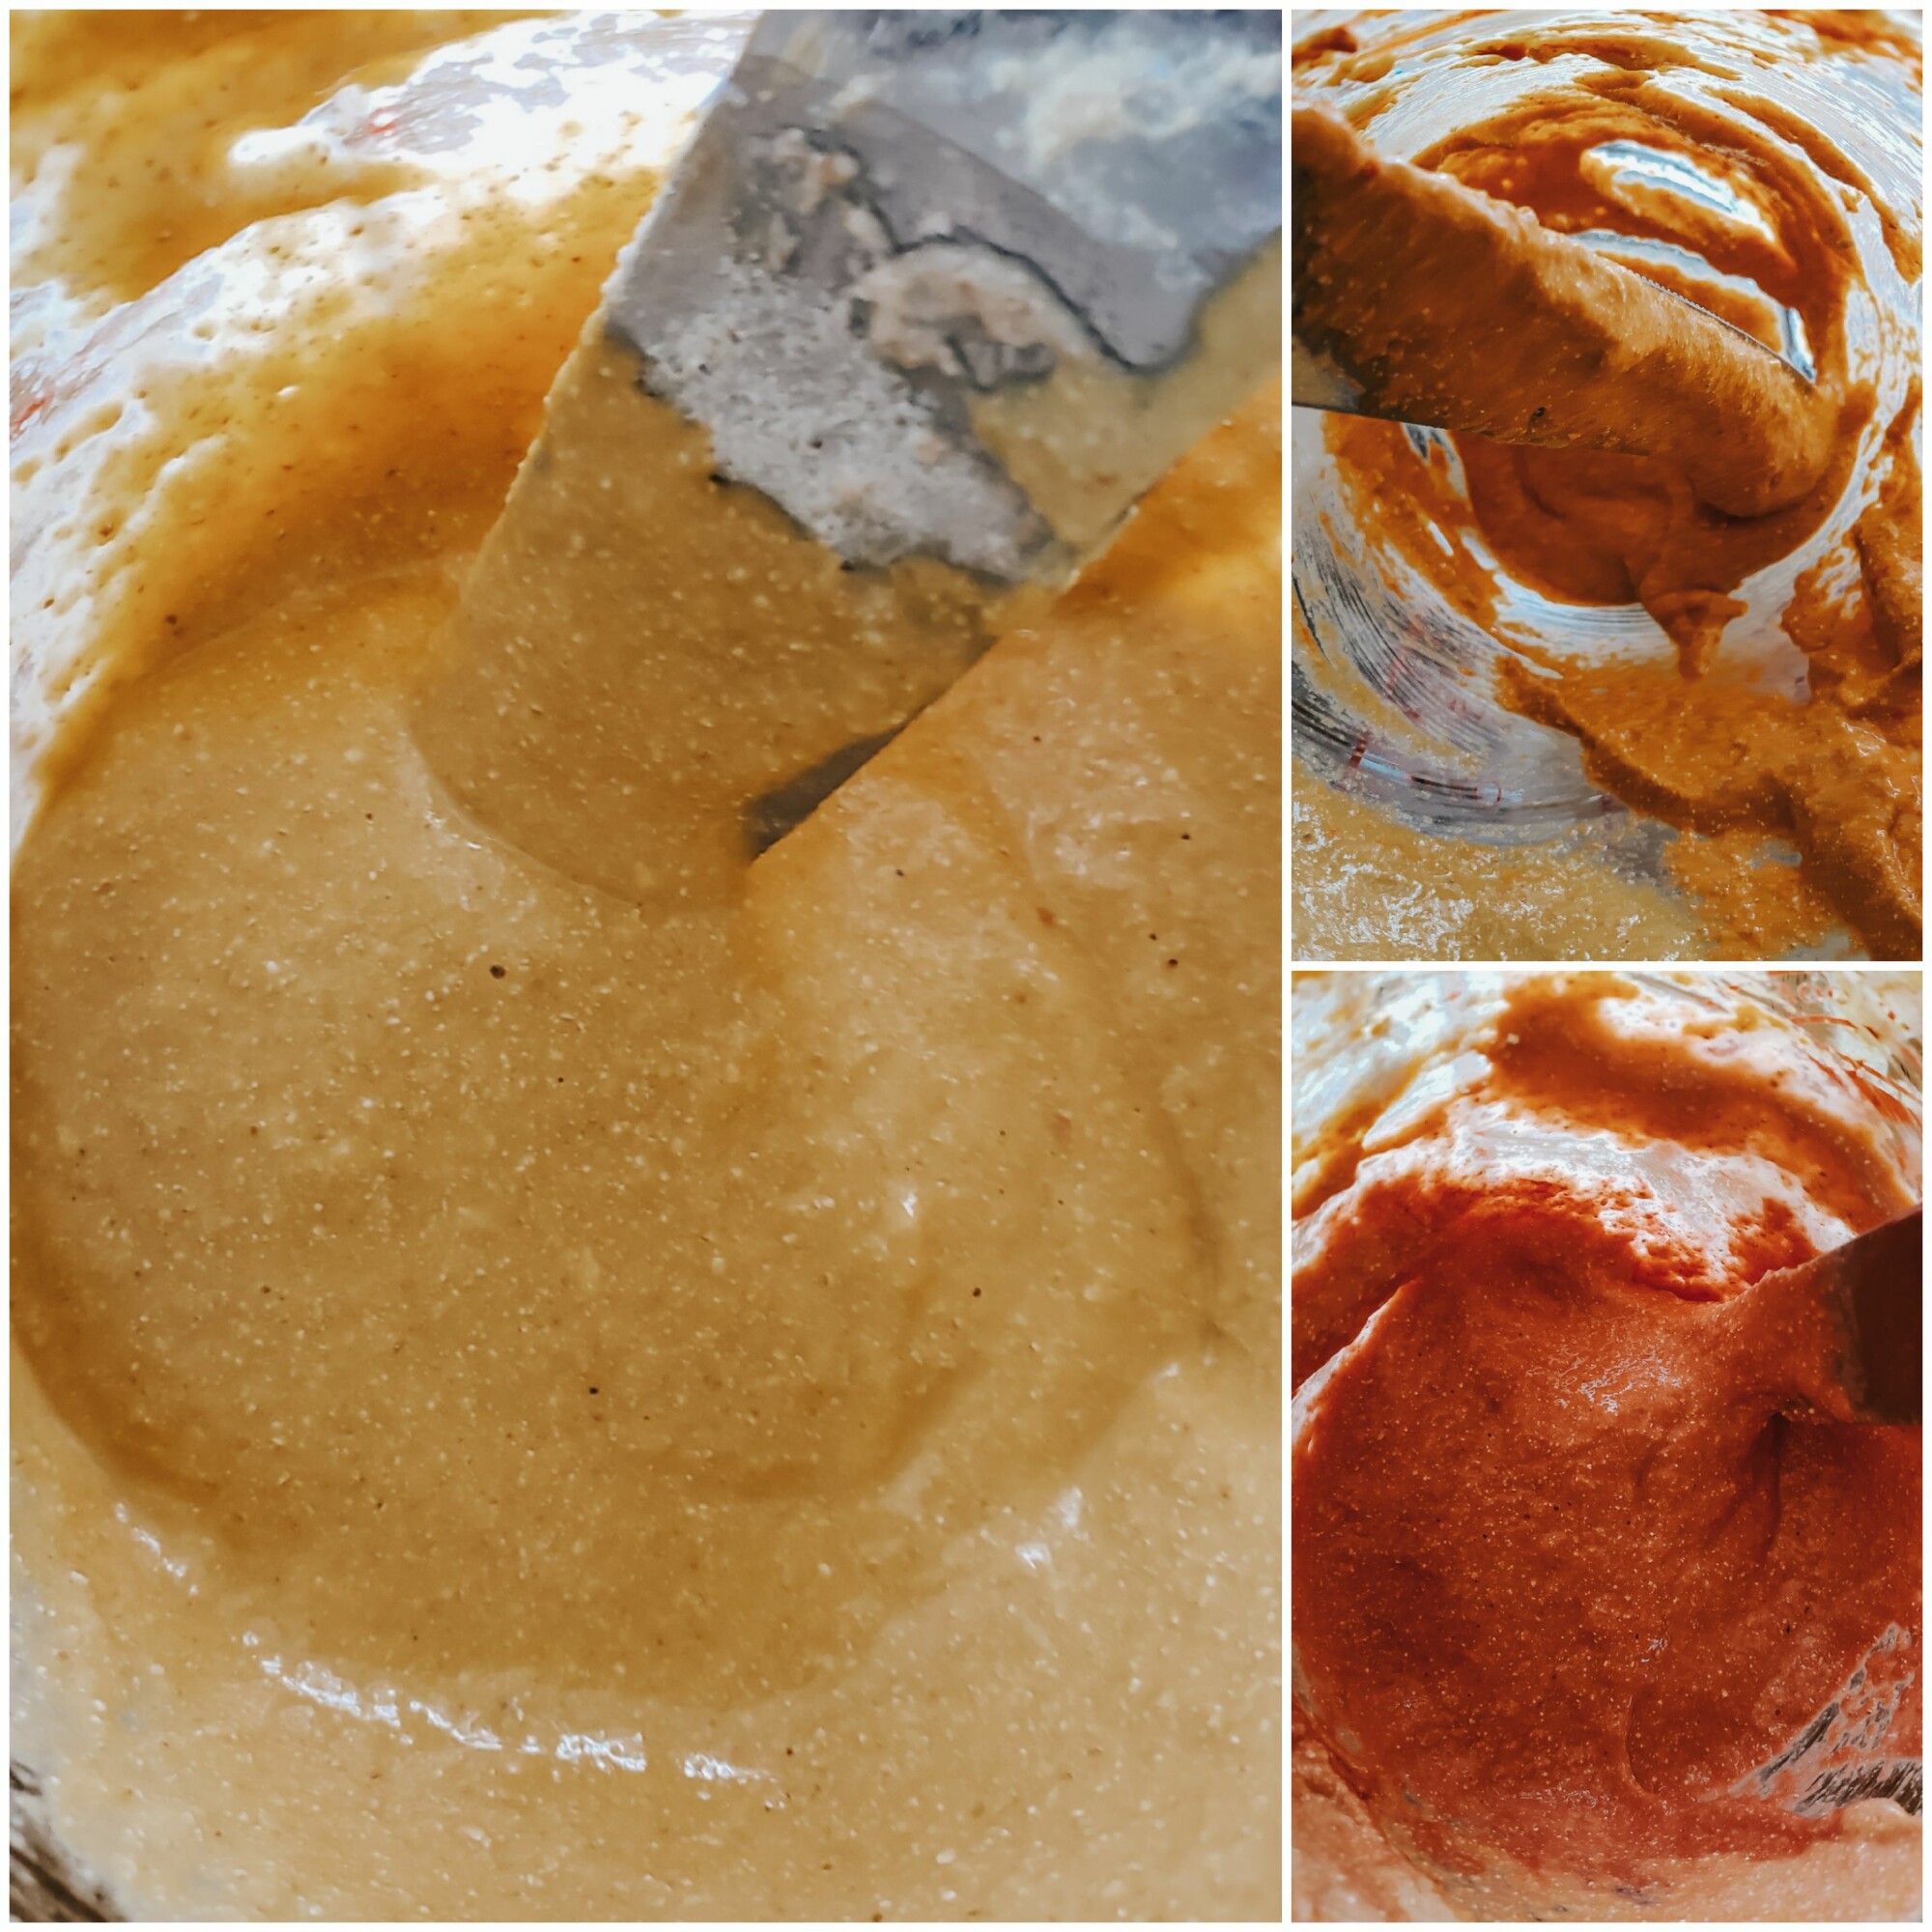
After the shells are a fine powder you can measure out 1TBS of eggshell to 1 tsp of flour. If you want to make more than one stick just double the recipe or triple or…
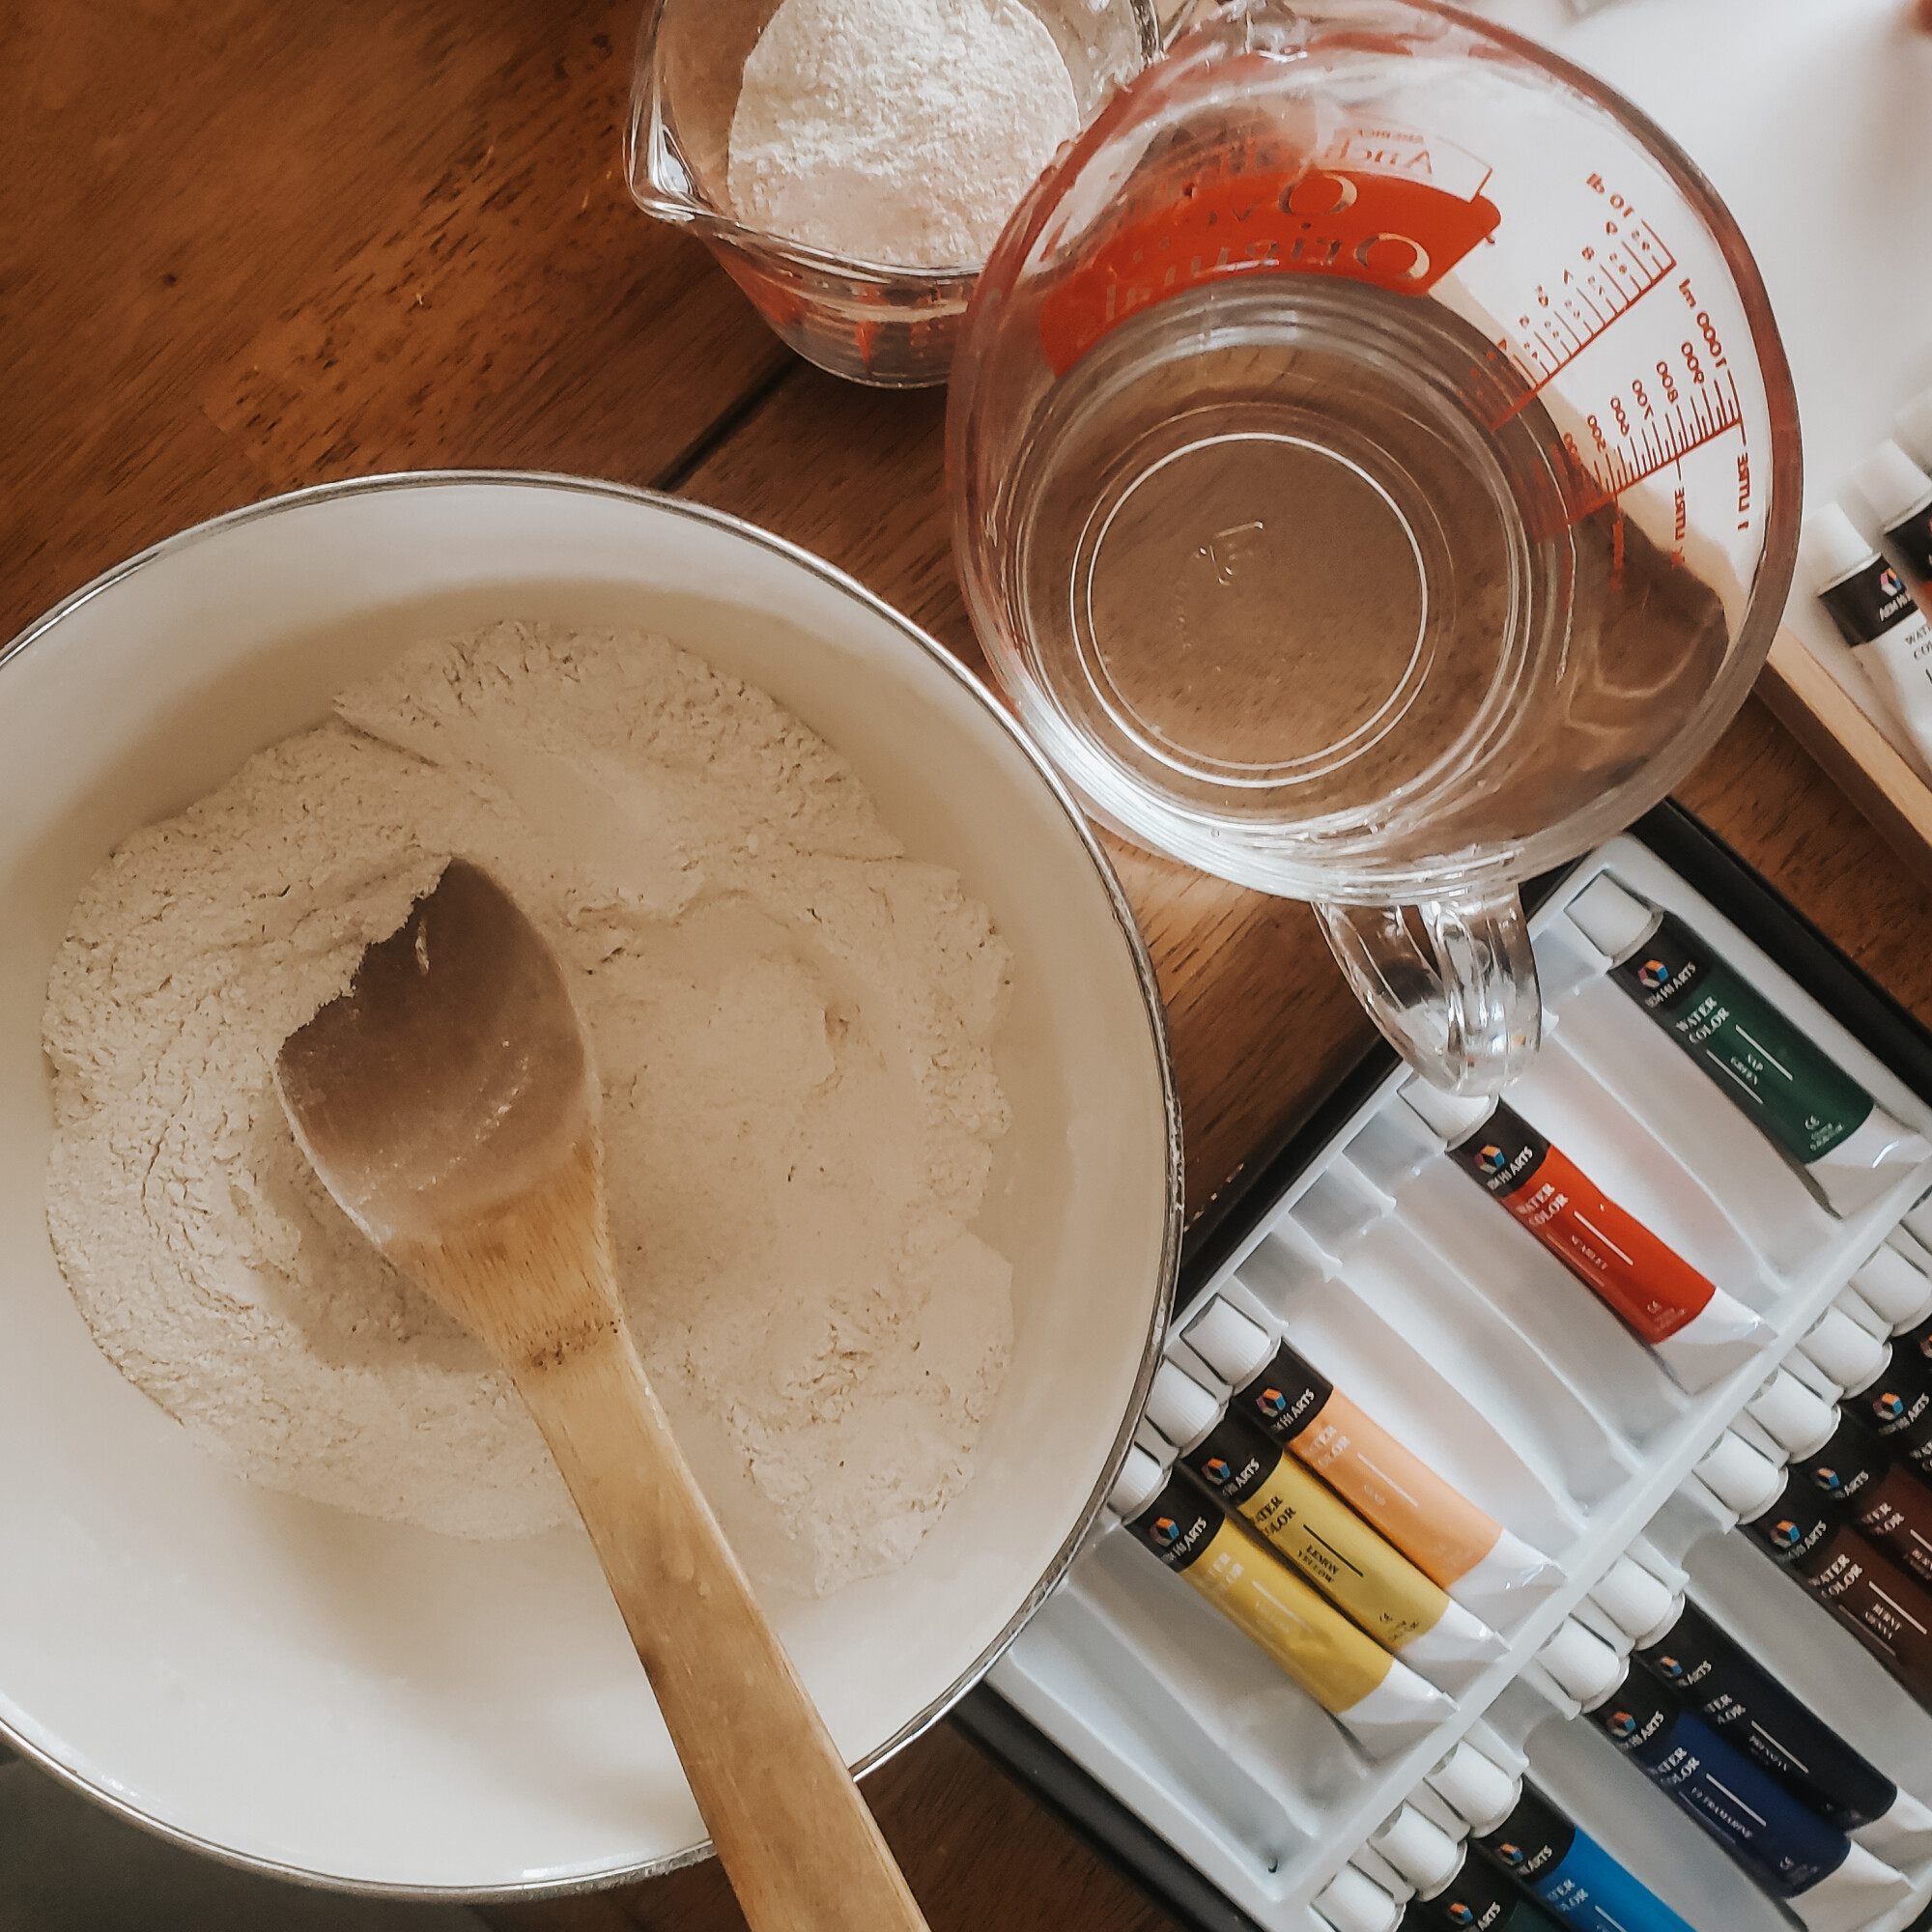
Slowly add very warm water. I do a tsp at a time. You want a thick, toothpaste consistency. If your chalk is too wet, it will take longer to dry.
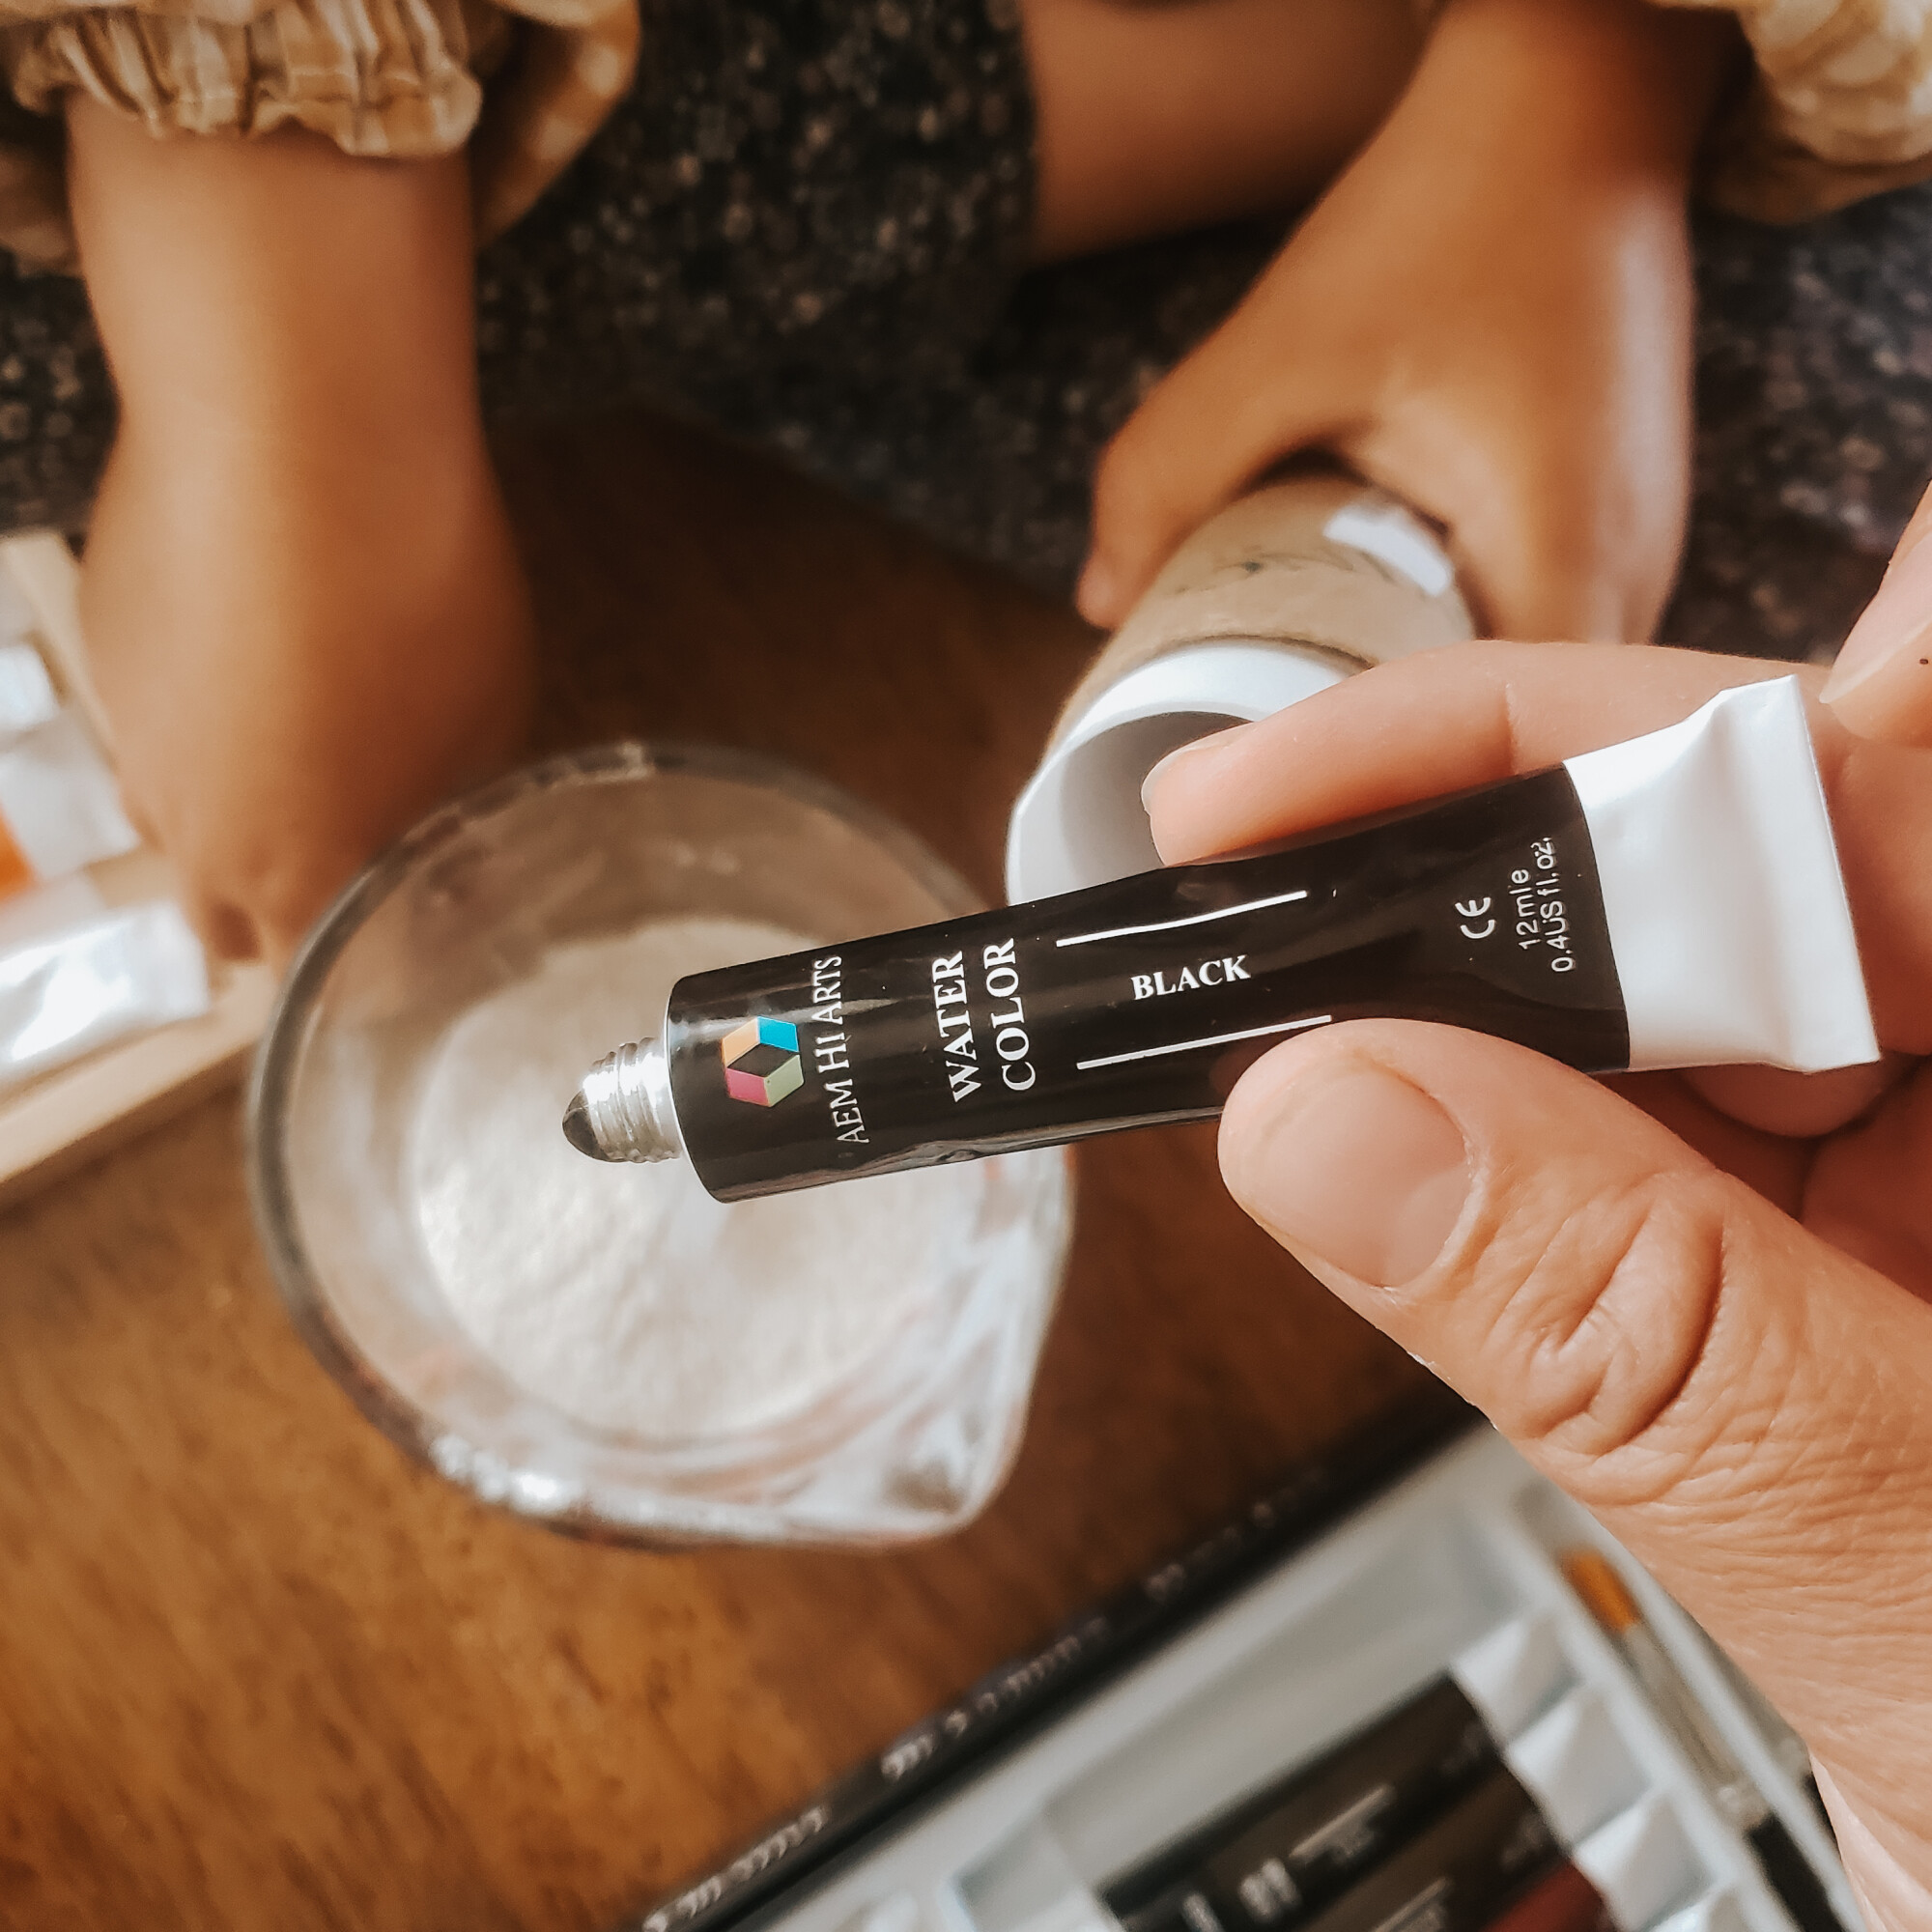
To add color-After you add water, add in some color using paint or dye. You can see the paint I like to use. I have used plant based pigments before and love them, but the colors aren't brilliant and don't show up that great on the sidewalk. Start with a little color, stir well and add more as needed.
When my little one is making chalk with me I like to have several smalls bowls out for mixing colors. When it's just me, I use the same measuring cup and mix colors from lightest to dark. For example I'll start with a pale yellow, then do a golden yellow, then a light orange and move to red, then add some blue for purple and so on!

Fill tube to the top and leave upright to dry. The chalk takes about 12 hours-3 days to dry, it's a good idea to explain this before you start making the chalk with your little one.
Enjoy and please tag me @destinationmommy if you make the chalk. I would also love it if you shared this post!


0 Comments